


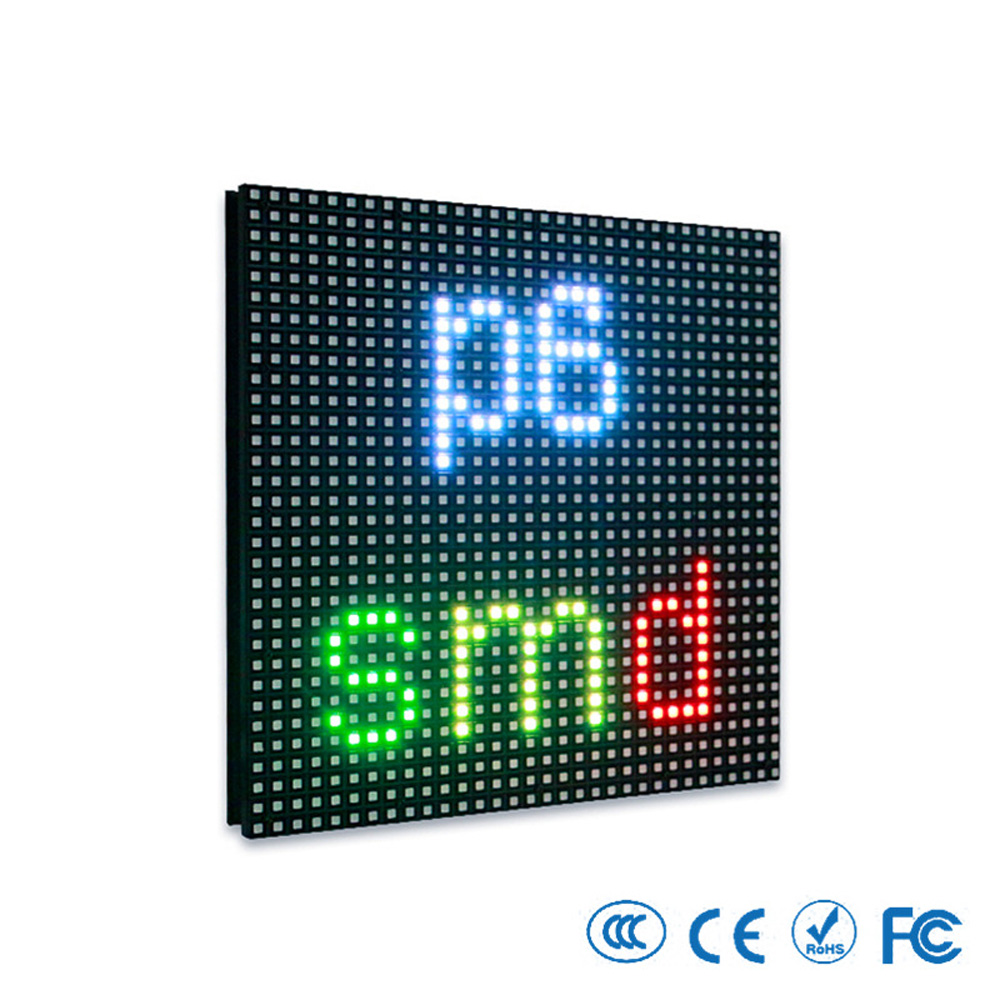
Outdoor P6 LED Display Module
For custom orders and bulk discounts, contact our sales team
$8.00
II. Installation Guide
1. Frame Design
Installation Methods: Magnetic/snap-in installation; supports floor-standing, wall-mounted, or suspended mounting.
Frame Material: Recommend hot-dipped galvanized steel structure (thickness ≥2mm), corrosion-resistant treatment required at welding joints.
Flatness Requirement: Surface flatness deviation ≤2mm/m² after module assembly.
2. Waterproofing & Cooling
Waterproofing Design:
Apply waterproof sealant (e.g., Dow Corning 732 silicone) around module edges.
Reserve drainage holes (diameter ≥10mm) at the bottom of the cabinet.
Recommended Dual Sealing: Module mask + cabinet waterproof layer.
Cooling Solutions:
Forced Air Cooling: Axial fan (airflow ≥1200m³/h installed on the upper back of the cabinet).
Built-in Air Conditioner: Single 2P AC controls ≤15m² screen area (recommended for ambient temperatures >40°C).
3. Power & Signal Wiring
Power Connection:
Each module requires independent DC 5V power supply; power cable specification ≥2.5mm² (copper core).
Main power line: Three-phase five-wire system (L1/L2/L3/N/PE); grounding resistance ≤3Ω (lightning protection).
Signal Connection:
Use NovaStar-specific HUB75 ribbon cables to connect modules and receiving cards. Ensure secure connections.
Transmission Distance:
Cat6 Ethernet: ≤100m (no repeater).
Single-mode fiber: ≤20km (recommended for long distances).
III. Commissioning with NovaStar
1. Control System Setup
Recommended Hardware:
Main Controller: NovaLCT-T Pro / NovaPro HD
Receiving Card: NovaA8-A / NovaDVI-HD
Transmission Protocol: HUB75 signal + Cat6 Ethernet / single-mode fiber
2. Software Configuration
Step 1: Resolution Matching
Open NovaLCT/NovaStudio and set the sender card output resolution to match the total LED screen resolution.
Example: For a 960×960 screen assembled from 192×192 modules, set the resolution to 960×960.
Step 2: Refresh Rate Setting
NovaStar recommends a refresh rate ≥3840Hz (ensures flicker-free display).
Step 3: Color Calibration
Perform pixel-by-pixel calibration using NovaStudio to ensure ΔE ≤2.5.
Step 4: Brightness Adjustment
Adjust brightness automatically or manually based on ambient light (supports 0–100 levels).
3. Commissioning Steps
Power-off Inspection:
Connect all power and signal cables with power off; use a multimeter to test for short circuits.
Upload Configuration:
Upload resolution, refresh rate, and color gamut settings to the NovaStar main controller.
Power-on Test:
Display "Red/Green/Blue/White" test patterns to check dead pixel rate (<0.0002‰).
Monitor internal temperature (≤45°C) and power status via NovaStudio.
Calibration Optimization:
Run NovaStudio to calibrate brightness uniformity (≥95%).
Adjust color temperature to target value (e.g., 6500K standard white balance).
IV. Common Issues & Solutions
Issue | Cause | NovaStar Solution |
|---|---|---|
Black Screen on Part of Display | Loose power cables or disconnected HUB75 signal line | Use NovaStar diagnostic tools to test power/signal integrity; replace damaged cables |
Color Unevenness | Uncalibrated module color or ambient light interference | Perform pixel-level color calibration via NovaStudio (ΔE ≤2.5) |
Signal Delay | Incorrect resolution settings or insufficient transmission bandwidth | Adjust NovaLCT-T Pro output resolution; upgrade to single-mode fiber |
High Temperature Alarm | Cooling system failure or clogged fan filter | Check fan status via NovaStar monitoring software (internal temperature ≤45°C) |
Dead Pixels Exceeding 0.0002‰ | Mechanical damage during transport/installation | Replace damaged modules; locate faults using NovaStar diagnostic tools |
V. Maintenance & Care
Routine Maintenance
Clean module surfaces with a soft cloth and anhydrous alcohol to prevent dust buildup and heat dissipation issues.
Use NovaStar monitoring software to check power/signal status weekly.
Annual Inspection
Test brightness uniformity (≥95%) and color consistency (ΔE ≤2.5).
Inspect waterproof seals and drainage hole functionality (prior to rainy season).
Long-term Storage
Store in humidity <60%, temperature 0°C–30°C, away from direct sunlight.
Power on modules every quarter for 1 hour to prevent capacitor aging.
Applications
Suitable for outdoor advertising, stadiums, stage performances, and transportation hubs. Integrate with NovaStar control systems for high-definition video playback (supports 2K/4K), multi-zone displays, and remote monitoring.
I. Basic Specifications of the Outdoor P6 LED Module (192×192mm)
Category | Parameter | Value |
|---|---|---|
Physical Features | Module Size | 192mm × 192mm |
Pixel Pitch | 6mm | |
Resolution | 32 (Width) × 32 (Height) = 1,024 pixels | |
Pixel Density | 27,778 dots/m² | |
Pixel Composition | 1R1G1B (Full Color) | |
Module Weight | ≤1.8kg | |
Display Performance | Brightness | ≥5,000 cd/m² (White Balance Condition) |
Color Temperature | 2,000K–9,500K Adjustable (Supports Calibration) | |
Refresh Rate | ≥1,920Hz–3,840Hz (Recommended by NovaStar ≥1,920Hz) | |
Gray Scale Level | 16bit (65,536 Levels) | |
Viewing Angle | Horizontal 140°, Vertical 120° | |
Electrical Specifications | Operating Voltage | DC 5V ±5% |
Power Consumption | Average 30W/Module, Peak 50W/Module | |
Protection Rating | IP65 (Outdoor Dustproof & Waterproof) | |
Operating Temperature | -20°C to +50°C |
Notes
Pixel Configuration:
Each pixel consists of 1 Red (R), 1 Green (G), and 1 Blue (B) LED (Full Color).
Brightness Uniformity:
Brightness uniformity ≥95% after factory calibration.
Color Consistency:
Color deviation ΔE ≤2.5 (calibrated with NovaStar software).
Environmental Compliance:
Designed for outdoor use with IP65 protection rating and wide operating temperature range.